

Voice Over Content Hub
Welcome to the content hub.
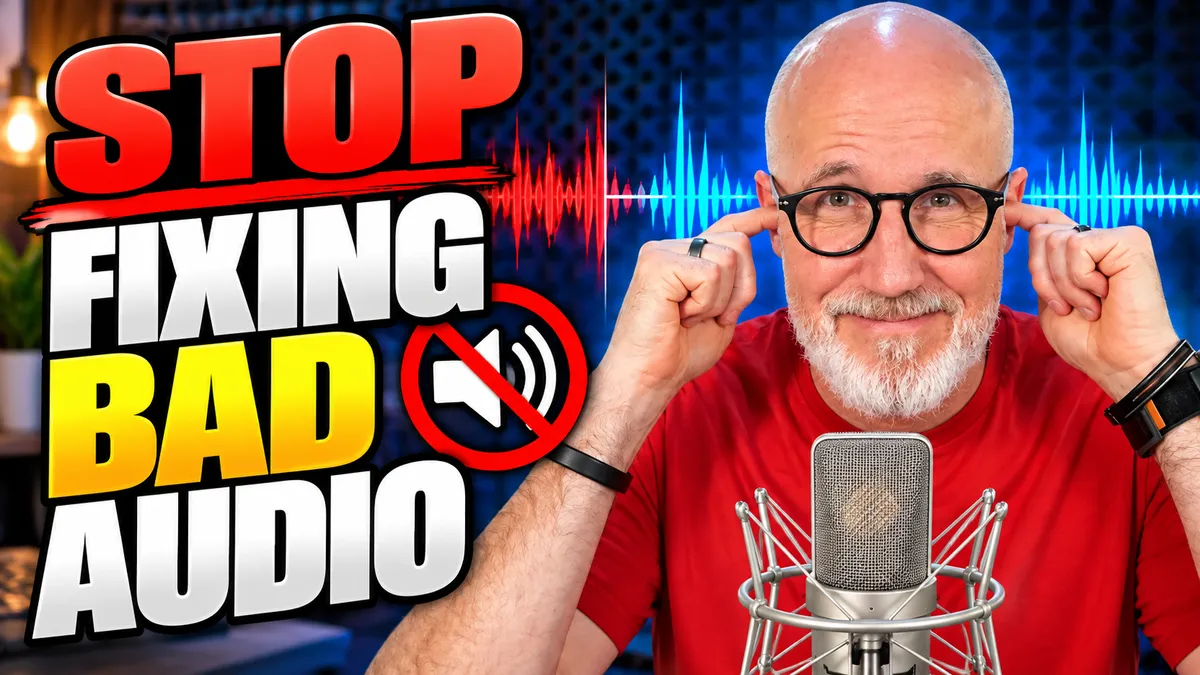
Stop Fixing Bad Voiceover Audio
Stop Fixing Bad Voiceover Audio
Stop Fixing Bad Voiceover Audio With Plugins! Fix the Source Instead.
When it comes to building a successful voiceover business, I often talk about what I call the three-legged stool of voiceover success.
Those three legs are:
Audio Quality
Performance
Marketing
Remove any one of those legs, and the whole stool falls over.
You can be the greatest voice actor in the world, but if your audio sounds terrible, clients probably aren't going to hire you.
You can have a beautiful recording studio and fantastic equipment, but if your performance isn't up to par, you're going to struggle.
And even if you've mastered both audio quality and performance, you still need to market yourself to find clients.
Today, we're focusing on that first leg: audio quality.
More specifically, why you should stop relying on plugins and audio-processing software to fix bad recordings and start addressing problems before you hit the record button.
Because when it comes to producing professional voiceover audio, the less you have to fix afterward, the better.
Stop Using Plugins as a Crutch
If you've spent any time recording voiceovers, you're probably familiar with some of the tools available in your digital audio workstation (DAW).
Things like compression, equalization (EQ), noise reduction and de-clicking tools.
You might also be familiar with popular audio restoration plugins such as iZotope RX or Waves NS1.
These are fantastic tools.
But here's the problem.
A lot of voice actors rely on them to fix issues that could have been prevented before recording.
Instead of figuring out why their recording sounds noisy, boxy or distorted, they start piling on effects.
A little noise reduction here.
Some aggressive EQ there.
A compressor to even everything out.
Another plugin to remove mouth clicks.
Before long, they've created a complicated processing chain just to make their recording sound acceptable.
And sometimes, all that processing actually makes things worse.
My philosophy is simple: Fix the input before you fix the output.
Get the cleanest, most natural recording possible before applying any processing.
You'll save time, preserve the natural sound of your voice and make your editing workflow much easier.
1. Your Recording Space Matters More Than Your Microphone
This is something I can't emphasize enough.
Your recording environment is arguably the most important part of your audio-quality setup.
You can spend thousands of dollars on a beautiful microphone, but if you're recording in a terrible space, that microphone isn't going to magically fix the problem.
In fact, an expensive, sensitive microphone may reveal even more of the problems in your room.
On the other hand, a relatively inexpensive microphone in a properly treated recording space can produce surprisingly professional results.
There are two primary things you need to address in your recording environment.
Keep Outside Noise Out
The first issue is unwanted noise entering your recording space.
That could be traffic, air conditioning, appliances, computer fans, barking dogs or the neighbor mowing the lawn.
Acoustic foam and moving blankets can help absorb sound reflections inside your recording area, but they aren't particularly effective at soundproofing.
Soundproofing generally requires things like mass, airtight construction and structural isolation.
If you can't completely soundproof your space, consider practical solutions such as recording during quieter hours, turning off noisy equipment when possible or relocating your microphone away from noise sources.
Control Reflections Inside Your Space
The second issue is the sound bouncing around inside your recording area.
Hard surfaces reflect sound.
Those reflections can create unwanted reverb, echo and that hollow, boxy sound you sometimes hear in home recordings.
Acoustic treatment helps reduce those reflections.
You don't necessarily need a fancy commercial recording booth.
I've seen people create very effective recording environments using closets, moving blankets and relatively inexpensive acoustic materials.
The important thing is how the space sounds, not how impressive it looks.
2. Get Your Noise Floor Under Control
One of the first things you should evaluate is your noise floor.
Your noise floor is essentially the level of background noise present in your recording when you're not speaking.
Here's an easy way to check it.
Turn on your microphone, hit record and remain completely silent for several seconds.
Don't speak, move around or breathe directly into the microphone.
Then look at the recording in your DAW.
That background sound is your noise floor.
For many professional voiceover applications, -60 dBFS or lower is a commonly recommended target.
Keep in mind that exact requirements can vary depending on the client, platform and how the noise is measured.
If you're recording at -60 dBFS or lower, you're generally in pretty good shape.
But what if you can't get there?
That's where tools like Waves NS1 or iZotope RX Voice De-noise can help.
The key is to use them sparingly.
Less Noise Reduction Is Usually Better
One of the biggest mistakes I see is applying way too much noise reduction.
Someone hears background noise and thinks:
"I'll just crank this plugin up until all the noise disappears."
Unfortunately, that's not how it works.
Aggressive noise reduction can start removing parts of your voice along with the unwanted noise.
You may end up with audio that sounds watery, metallic, artificial or overly processed.
Instead, start with a very small amount of noise reduction.
Increase it gradually while listening carefully to the results.
If you hear the quality of your voice changing, you've probably gone too far.
And remember, the goal isn't necessarily absolute digital silence.
The goal is clean, natural-sounding audio without distracting background noise.
3. Get Your Microphone Placement and Gain Right
The next thing to address is your microphone technique.
This includes microphone placement, distance, angle and input gain.
All of these things can dramatically affect your recording quality.
Set Your Input Gain Correctly
When recording your normal speaking voice, I generally recommend aiming for peaks somewhere around -12 to -9 dBFS in your DAW.
This provides a healthy recording level while leaving some headroom.
It's a useful starting point, not an absolute requirement. Recording at lower levels can also work perfectly well with modern 24-bit recording systems, provided your signal is clean.
The important thing is to avoid clipping.
Clipping happens when your recording exceeds the available digital headroom, potentially creating audible distortion.
Once that distortion is recorded, it can be difficult or impossible to completely repair.
Adjust for Your Performance
Not every voiceover requires the same recording level.
If you're doing a loud, energetic commercial with lots of shouting, you may need to lower your input gain.
If you're recording a very soft, intimate read, you may be able to increase it slightly.
The key is to test your levels using the loudest portion of the actual performance before you start recording.
Don't just say a few words at your normal speaking volume and assume everything will be fine.
Set your gain for the performance you're about to deliver.
Watch Your Microphone Position
Microphone placement matters, too.
If you're too close, you may introduce excessive bass through the proximity effect.
If you're too far away, you may capture more room reflections and background noise.
Speaking directly into the microphone capsule can also increase plosives—those bursts of air from words containing letters like P and B.
Experiment with placing the microphone slightly off-axis and using a pop filter.
A small adjustment in microphone position can sometimes eliminate problems that would otherwise require considerable editing.
4. Reduce Mouth Noise Before Recording
Let's talk about something every voice actor deals with.
Mouth noise.
Clicks.
Pops.
Smacks.
The occasional snap, crackle and pop.
If you've ever listened to a close-miked voiceover recording through good headphones, you know exactly what I'm talking about.
And if you're dealing with mouth noise, you're certainly not alone.
The good news is that there are several things you can try before reaching for a de-clicking plugin.
Stay Hydrated
Proper hydration can help reduce some types of mouth noise.
Make sure you're drinking enough water throughout the day rather than waiting until five minutes before your session.
Experiment With Simple Remedies
Some voice actors swear by eating a Granny Smith apple before recording.
Others find that chewing sugar-free gum between sessions helps.
These aren't guaranteed solutions, but they're inexpensive things worth experimenting with.
Just remember that different people respond differently, and some remedies can actually make mouth noise worse.
Pay Attention to Your Technique
Sometimes mouth noise becomes more noticeable because of how you're speaking.
Excessive lip smacking, tongue movements and certain articulation habits can contribute to unwanted sounds.
Becoming aware of those habits can help you reduce them naturally.
And if you still have some clicks in your recording?
That's fine.
Use your de-clicking software when necessary.
Just don't automatically run aggressive processing across an entire recording when only a handful of clicks need attention.
5. Stop Removing Every Single Breath
Here's another audio-editing mistake I see fairly often.
Voice actors who remove every single breath from their recordings.
Now, there are certainly situations where breath removal makes sense.
A fast-paced commercial might require very tight editing.
Some clients may specifically request that breaths be removed.
But for many types of voiceover, especially narration and audiobooks, breaths are perfectly natural.
People breathe when they talk.
And when you remove every single breath, you can actually make the performance sound unnatural.
You risk stripping away some of the humanity and conversational quality of the read.
Learn Better Breathing Techniques
Instead of automatically removing breaths in post-production, work on your breathing technique.
Take a comfortable breath before beginning a sentence.
Learn where natural pauses belong.
Practice taking smaller, quieter breaths during longer passages.
And avoid waiting until you're completely out of air before inhaling.
With practice, you'll become better at managing your breathing while maintaining a natural delivery.
The result?
Fewer distracting breaths and less editing.
Leave Natural Breaths Alone
This is particularly important in audiobook narration.
Audiobooks are storytelling.
And storytelling involves natural pauses, phrasing and breathing.
If a breath is loud or distracting, reduce it.
But if it's a small, natural breath that supports the rhythm of the performance, consider leaving it alone.
Sometimes a breath is part of what makes the performance believable.
6. Better Input Means Faster Editing
Here's something else worth considering.
Every problem you prevent during recording is one less problem you have to fix afterward.
Think about how much time you spend editing.
Removing mouth clicks.
Repairing plosives.
Reducing background noise.
Cleaning up breaths.
Adjusting inconsistent levels.
Trying to eliminate room reflections.
Now imagine how much faster your workflow would be if you could eliminate even half of those problems before recording.
You could spend more time recording, auditioning and marketing your business instead of cleaning up avoidable audio problems.
And if you're doing voiceover professionally, time matters.
The less time you spend fixing audio, the more time you have available to make money.
7. Use Audio Processing to Enhance, Not Rescue
I want to be clear about something.
I'm not suggesting that you should never use plugins.
I use audio processing tools myself.
Compression can help control dynamics.
EQ can make subtle tonal adjustments.
Noise reduction can address unavoidable background noise.
De-clicking tools can eliminate distracting mouth sounds.
These are all valuable tools when used appropriately.
And for some projects, specific processing is part of the required deliverable.
For example, some audiobook platforms have technical requirements for peak levels, RMS levels and noise floor.
Other clients may want completely raw audio so their engineers can handle the processing themselves.
Always follow the client's specifications.
But regardless of what processing you ultimately apply, your starting point should be the cleanest recording possible.
Plugins should be tools, not crutches.
The Bottom Line: Fix It Before You Record It
If there's one thing I want you to take away from this, it's this:
Stop trying to fix bad recordings with software when you could prevent the problems in the first place.
Treat your recording space.
Control your noise floor.
Learn proper microphone technique.
Set your gain correctly.
Stay hydrated.
Work on your breathing.
And when you do need processing, use only as much as necessary.
The result will be cleaner recordings, more natural performances and a much faster editing workflow.
Remember that three-legged stool?
Audio quality, performance and marketing.
You need all three to build a successful voiceover business.
And when it comes to audio quality, the best place to start is before you ever hit the record button.
Want to Improve Your Voiceover Skills?
If you're interested in becoming a voice actor or you've already started and need some guidance, I host a free Voiceover Blueprint webinar every Tuesday at 6:00 p.m. Pacific Time on Zoom.
We'll discuss some of the steps involved in starting a voiceover business, and you'll have an opportunity to ask me your questions live.
You'll also receive a free digital and audiobook copy of my book, The Voiceover Blueprint, plus four additional gifts just for attending.
You can sign up using the link in the description or pinned comment on my YouTube channel.
And if you're looking for more in-depth training on specific topics, check out the standalone programs available through The Voiceover Blueprint. We cover everything from performance and recording technology to marketing, auditions and building your business.
Finally, if you're struggling with your recording environment, I've created a complete video showing how to turn an ordinary closet into a voiceover recording space.
It's a great place to start if you want to improve your audio without spending thousands of dollars on a professional booth.
Because at the end of the day, great voiceover audio starts with a great recording—not a great plugin.
Download My Latest Beginner Mistakes in Voice Over - Quick Start! https://thevoiceoverblueprint.com/beginner-mistakes
Discover the Voice Over Blueprint™: https://thevoiceoverblueprint.com/vobp
The content on this channel is for educational and informational purposes only. While I share tips, strategies, and guidance based on my experience as a professional voice actor, there is no guarantee of earning income or securing voiceover work by using the information provided. Results vary depending on individual effort, skill level, market conditions, and other factors. Viewers should use their own judgment and take personal responsibility for their voiceover career decisions.

Download my latest voice over resource guide...
Get My Latest Voice Over Tips, Tricks, and Insights You Can Use Right Now!
These no cost resource guides show you what working now in voice over.
Terms of Use. |. Disclaimer. |. Privacy Policy. |. Members Area. | Reviews | Refund Policy | Partners