

Voice Over Content Hub
Welcome to the content hub.
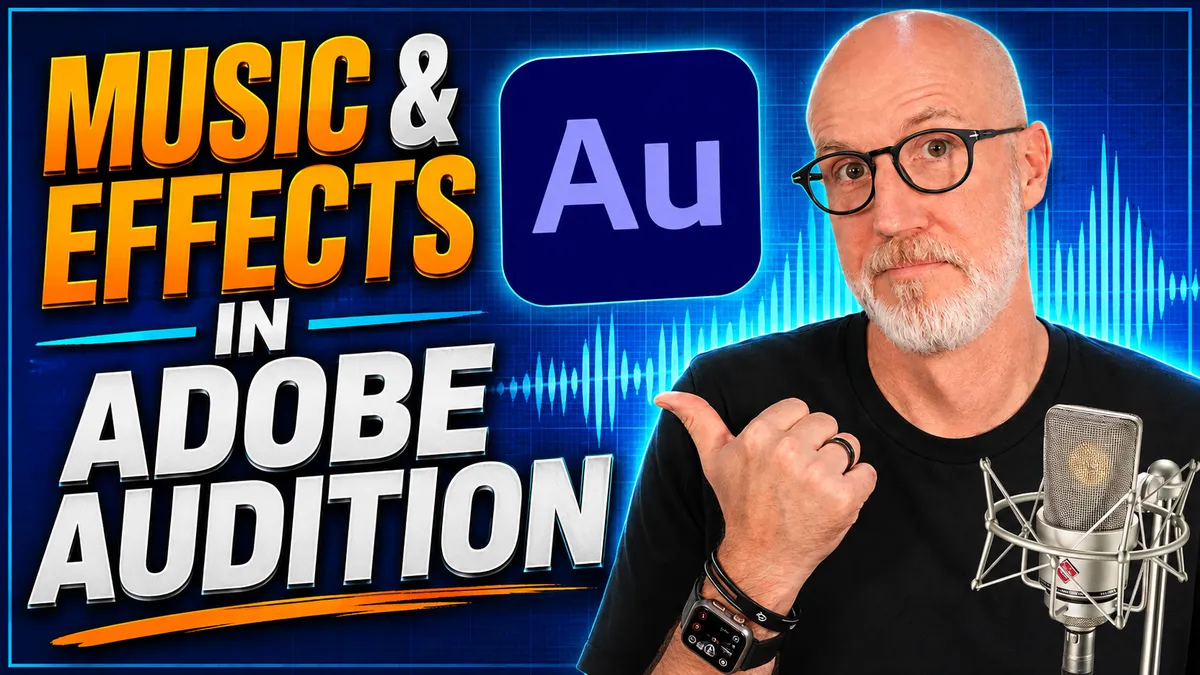
Make Your Voiceovers Stand Out: A Simple Adobe Audition Guide
Make Your Voiceovers Stand Out: A Simple Adobe Audition Guide
How to Add Music and Sound Effects to Voiceover in Adobe Audition
Recording a clean, professional voiceover is an essential skill. But knowing how to take that dry recording and turn it into a finished production with music and sound effects can make you much more valuable as a voice actor.
It can also open the door to additional income.
If a client needs a podcast intro, phone recording, commercial, explainer, or other project that requires a music bed or sound effects, you don't necessarily have to hand that work off to somebody else. With some basic Adobe Audition skills, you can create the finished audio yourself—and potentially charge more for the additional production.
It's also a valuable skill if you're creating your own DIY voiceover demo and want your recordings to sound more like finished commercials instead of a collection of dry reads.
In this tutorial, I'll walk you through a simple way to add music and sound effects to a voiceover using the Multitrack Editor in Adobe Audition.
Why Voice Actors Should Learn Basic Audio Production
There's a big difference between a dry voiceover recording and a finished commercial.
A dry recording might simply be:
Voice.
A produced commercial might include:
Voice + music + ambience + sound effects.
Those additional elements help create a scene and give the recording emotion, energy, and context.
You don't necessarily need to become a professional audio engineer to do this. Adobe Audition's Multitrack Editor makes it relatively easy to combine multiple audio elements and control each one independently.
Here's the basic workflow.
Step 1: Start With Your Finished Voiceover
Before adding anything else, finish editing and processing your voice track.
Remove mistakes, clean up unwanted noise, make your edits, and get the voice sounding the way you want it.
For example, you might have a dry commercial read that sounds something like:
“Some things just fit. A favorite pair of shoes, your lifelong friend, the people you count on…”
If the client only wants dry voiceover, you could save that file and send it.
But if you're producing the finished spot, it's time to move into Multitrack.
Step 2: Create a New Multitrack Session
In Adobe Audition, right-click your finished voiceover file and choose:
Insert Into Multitrack → New Multitrack Session
Give your session a name.
There's one important setting to pay attention to here: set your mix to stereo.
Voiceover is commonly recorded and delivered in mono. But once you're incorporating stereo music and other production elements, you'll generally want the finished mix to be stereo.
Your voiceover will now appear on Track 1.
Step 3: Add Your Music
Next, find the music you want to use and drag it onto Track 2.
If you need music, one resource available to creators is the YouTube Audio Library, which provides music and sound effects that can be searched by things such as genre, mood, and duration.
Once you've found your music, simply drag the audio file into your Audition session.
Now you've got:
Track 1 – Voiceover
Track 2 – Music
Your music will probably be considerably longer than the voiceover, so you'll need to trim it.
Position the playhead where you'd like the music to end, select the music clip, and use:
Clip → Split
Then select the portion you don't need and delete it.
You can also trim a clip simply by dragging its edge.
Step 4: Lower the Music Under the Voice
Here's where the actual mixing begins.
Your music will probably be far too loud compared with the voice.
Select the music track and reduce its volume until the voice sits clearly above it.
There isn't one magic volume setting that works for every project. The right level depends on the music, the voice, and the type of production you're creating.
The important thing is that the music supports the voice instead of competing with it.
Play the beginning several times and adjust the music until the balance feels natural.
Step 5: Take Advantage of the Music's Intro
Pay attention to how the music begins.
If your track has a natural fade-in, you may want to move your voiceover so the first line begins just as the music reaches the right energy level.
That's one of the advantages of working in Multitrack—you can slide the individual elements around until everything feels right.
You aren't permanently changing the original files. You're arranging them on a timeline.
Step 6: Fade Out Your Music
You probably don't want your music to suddenly stop the instant the voiceover ends.
Instead, give it a natural fade.
At the end of the music clip, use Audition's fade control and drag it inward to create a gradual fade to silence.
Listen to the ending.
Too fast?
Extend the fade.
Too slow?
Shorten it.
These seemingly small production decisions can make a huge difference in how professional the finished piece sounds.
Step 7: Add Sound Effects
Now things start getting fun.
Let's say your commercial is supposed to feel like someone enjoying an afternoon at a park.
You could add some outdoor ambience—maybe birds, distant activity, or even a dog barking.
Find an appropriate sound effect and drag it onto Track 3.
Now you have:
Track 1 – Voiceover
Track 2 – Music
Track 3 – Outdoor ambience
Adjust the volume until the ambience is noticeable enough to establish the environment without distracting from the voice.
The goal isn't necessarily for listeners to consciously think, “I hear a dog barking.”
You want them to simply feel like they're in that environment.
Give Every Sound Effect Its Own Track
This is an important habit to develop.
If you add additional sound effects, put each type of effect on its own track.
For example, you could have voiceover on Track 1, music on Track 2, park ambience on Track 3, a passing car on Track 4, and children playing on Track 5.
Why separate them?
Independent volume control.
If you put several effects on the same track, changing that track's volume affects everything on it.
Separating your sounds gives you much greater control over the mix.
You Can Also Use Audition's Mixer
Adobe Audition also gives you a more traditional mixer interface.
Click Mixer, and you'll see individual channel strips and volume faders for your tracks.
Personally, I often find it faster to make basic adjustments directly in the Multitrack Editor, but either approach works. Use whichever interface makes the most sense to you.
Step 8: Export the Finished Mix
Once everything sounds the way you want it, it's time to combine all those individual tracks into one finished audio file.
Go to:
File → Export → Multitrack Mixdown → Entire Session
Audition will combine your voice, music, sound effects, volume changes, fades, and other adjustments into one stereo file.
This is different from simply saving your Multitrack session.
Saving preserves the project so you can come back and continue editing.
Exporting creates the finished audio file.
Step 9: Normalize the Finished Audio
Once you've exported your mix, open the finished file back up in Adobe Audition.
One additional step I like to use is normalization.
For this example, I normalize the finished audio to -3 dB.
That brings the overall level up while maintaining some headroom.
Listen through the finished file again after normalization to make sure everything still sounds the way you intended.
Step 10: Consider a Hard Limiter for Demo Production
If you're assembling a voiceover demo, there's another processing step I often use once all the individual spots have been put together.
Go to:
Effects → Amplitude and Compression → Hard Limiter
I typically limit the finished demo to -1 dB.
That can give the overall demo additional level and punch.
Keep in mind that mastering can get considerably more sophisticated than this. The goal here isn't to cover every aspect of professional audio mastering. This is a basic workflow designed to help you understand how Multitrack production works and start experimenting with it yourself.
Start Experimenting
Once you understand the basics, this is where audio production becomes really creative.
Record a piece of voiceover.
Drop it into Multitrack.
Add some music.
Try a different music track.
Add ambience.
Add a sound effect.
Move things around.
Change the levels.
Create fades.
Then listen to how dramatically those choices change the feel of your performance.
You'll probably be surprised by how quickly you start developing an instinct for what works.
And from a business standpoint, this is another skill you can offer your clients. Instead of only providing the voice, you may eventually be able to provide a finished, produced piece of audio.
That's another way to increase the value you bring to the table as a professional voice actor.
Want to Learn More About Voiceover?
Every Tuesday at 6 p.m. Pacific, I host a free Voice Over Blueprint webinar where we talk about getting started in voiceover, building your business, and the steps involved in becoming a working voice actor.
You can also bring your questions and ask me directly.
When you attend, you'll receive a copy of my book, The Voice Over Blueprint, including the audiobook and digital PDF, along with four additional free gifts.
And if you use Adobe Audition, check out my tutorial on setting up keyboard shortcuts in Adobe Audition. Keyboard shortcuts are one of my favorite ways to speed up the editing process and shave time off your workflow.
If this kind of voiceover content helps you, subscribe to the channel, hit the notification bell, and leave a comment with any questions you have about Adobe Audition, multitrack editing, or the voiceover business.
Ready to take the next step? I'm hosting a free 1-hour webinar this Tuesday night at 6:00 PM Pacific / 9:00 PM Eastern where I'll go deeper into everything it takes to start a voice acting career from home—including how to land your first gigs with little to no upfront cost. Plus, everyone who shows up gets a free copy of my book, The Voiceover Blueprint (audiobook and ebook). Sign up using this link.
Download My Latest Beginner Mistakes in Voice Over - Quick Start! https://thevoiceoverblueprint.com/beginner-mistakes
Discover the Voice Over Blueprint™: https://thevoiceoverblueprint.com/vobp
The content on this channel is for educational and informational purposes only. While I share tips, strategies, and guidance based on my experience as a professional voice actor, there is no guarantee of earning income or securing voiceover work by using the information provided. Results vary depending on individual effort, skill level, market conditions, and other factors. Viewers should use their own judgment and take personal responsibility for their voiceover career decisions.

Download my latest voice over resource guide...
Get My Latest Voice Over Tips, Tricks, and Insights You Can Use Right Now!
These no cost resource guides show you what working now in voice over.
Terms of Use. |. Disclaimer. |. Privacy Policy. |. Members Area. | Reviews | Refund Policy | Partners