

Voice Over Content Hub
Welcome to the content hub.
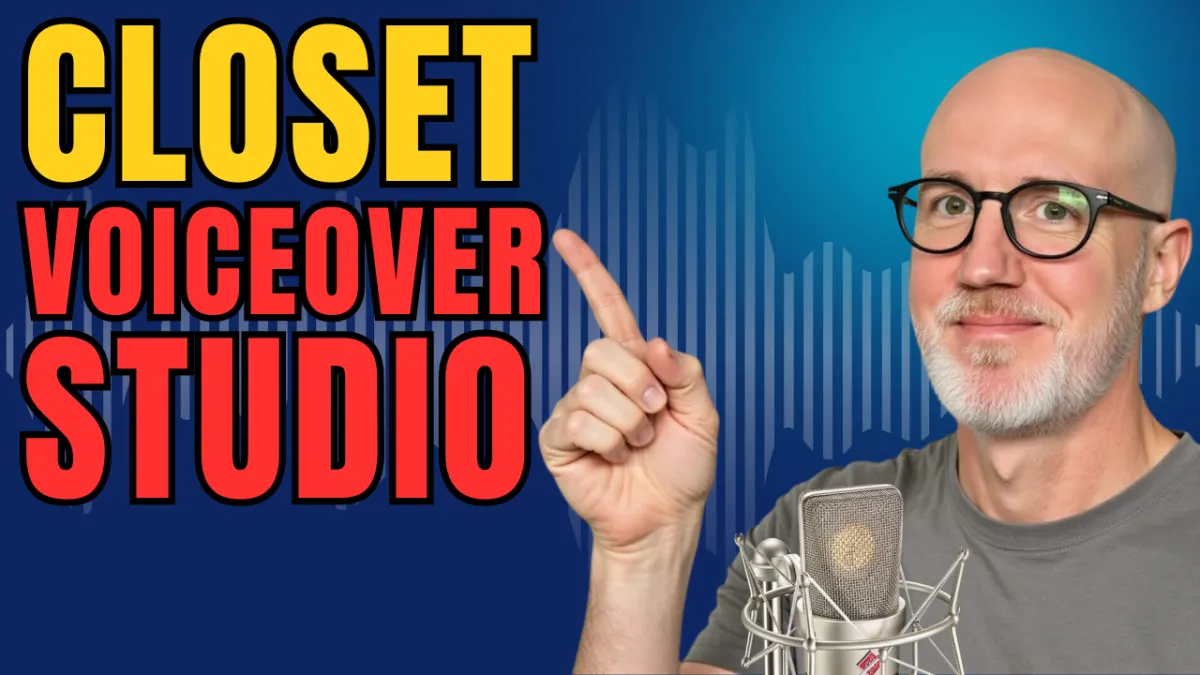
How to Build a Cheap Closet Studio for Voiceover
How to Build a Cheap Closet Studio for Voiceover
How to Build a Voiceover Studio in Your Closet (Without Spending Thousands)
One of the biggest misconceptions new voice actors have is that they need a professionally built recording booth before they can start booking work.
The truth?
Some of the most successful voice actors built their businesses from nothing more than a closet.
If you're just getting started in voice over, you don't need to spend thousands of dollars on a commercial recording booth. What you need is a space that produces clean, professional audio—and for many people, that's already sitting inside their home.
In this guide, I'll walk you through how to build a simple closet voiceover studio, what materials actually matter, and how to get professional sound without breaking the bank.
Why a Closet Makes a Great Voiceover Booth
Closets naturally have several advantages over larger rooms.
They're small, enclosed spaces that are much easier to control acoustically. If the closet already has clothing hanging inside, you're even further ahead because those clothes help absorb sound reflections.
When I first started, I had a spare closet in my office that was full of junk.
I cleared everything out, treated the walls, and worked out of that closet for nearly 10 years before upgrading to the professional booth I use today.
The lesson?
You don't need a fancy booth to build a successful voice acting business.
The Two Goals of Every Voiceover Studio
No matter what kind of recording space you build—whether it's a closet, blanket booth, or professionally manufactured booth—it needs to accomplish two things.
1. Keep Outside Noise Out
You want to reduce sounds like:
Air conditioners
Traffic
Dogs barking
Lawn equipment
Family members
Household noise
The quieter your environment, the cleaner your recordings will be.
2. Make the Inside Sound "Dead"
When voice actors say a booth sounds "dead," that's actually a compliment.
It means the room isn't producing echoes or reflections that bounce back into your microphone.
The goal is simple:
The deader, the better.
Start with an Empty Closet
If you have a spare closet available, it's an excellent place to build a dedicated recording space.
The first thing I did was completely empty mine.
Once everything was removed, I covered the interior surfaces with acoustic treatment.
One option is professional studio foam.
I used Auralex acoustic foam, which has long been considered one of the industry standards for studio treatment.
However, that isn't your only option.
Moving Blankets Work Surprisingly Well
If studio foam isn't in your budget, don't worry.
Many voice actors build excellent-sounding booths using:
Moving blankets
Sound dampening blankets
Thick comforters
Quilts
The important part isn't the brand.
The important part is covering the hard reflective surfaces inside the closet.
Walls, doors, and even ceilings can all reflect sound back into your microphone.
Soft materials absorb those reflections and help produce cleaner recordings.
Don't Forget the Floor
One area beginners often overlook is the floor.
If your closet has hardwood, tile, or laminate flooring, add a rug or carpet.
Hard flooring reflects sound just like bare walls do.
Covering every hard surface makes a noticeable difference in your recordings.
Upgrade the Door If You Can
One improvement I made that helped reduce outside noise was replacing my closet door.
Most interior closet doors are hollow-core doors.
They're lightweight, inexpensive—and not very good at blocking sound.
I replaced mine with a solid-core wood door.
That simple upgrade helped reduce outside noise from:
Air conditioning
Conversations
Kids playing
Everyday household sounds
It's not mandatory, but if your budget allows, it's a worthwhile improvement.
Seal the Gaps
After replacing the door, I added weather stripping around the frame.
This created a tighter seal whenever the door was closed, reducing the amount of outside noise entering the booth.
Just keep one thing in mind.
Most closets don't have air conditioning vents.
If you seal the room well, it can get warm quickly—especially during the summer.
Living in Phoenix, I definitely experienced that.
My solution was simple.
I'd record my session, then open the door while editing to let cooler air circulate back into the space.
Keep Your Computer Outside the Booth
Another way to reduce noise is by keeping your computer outside the recording space.
At the time, I was recording with a laptop.
Instead of bringing it into the closet, I placed it on a desk outside the booth and ran extension cables inside.
That setup included:
HDMI cable to an external monitor
Wireless keyboard
Wireless mouse
This accomplished two things:
Eliminated computer fan noise
Reduced heat inside the booth
Both made recording much more comfortable.
Have an Audio Engineer Check Your Sound
Once your booth is finished, it's a smart investment to have a professional audio engineer evaluate your setup.
They can help optimize your recording chain based on:
Your microphone
Your voice
Your booth
Your recording software (DAW)
That way, every audition and every client project starts with consistent, professional audio.
If It Sounds Good, It Is Good
One mistake many beginners make is worrying too much about how their booth looks.
Clients don't care.
They only hear the finished recording.
Your recording booth doesn't need LED lights, fancy wood finishes, or expensive branding.
If it produces professional audio...
It has done its job.
Don't Have a Spare Closet? Use Your Existing Closet
No empty closet?
No problem.
Many successful voice actors simply record inside their bedroom closet.
Those hanging clothes work as natural acoustic treatment.
In many cases, clothing absorbs sound so effectively that you won't need much additional treatment at all.
I've personally known voice actors who built six-figure businesses recording from a clothes closet before ever purchasing a commercial booth.
Don't underestimate what you already have.
Reinvest as Your Business Grows
One of the biggest mistakes new voice actors make is trying to buy everything upfront.
Instead, think of your booth as something you'll improve over time.
Start with what you have.
Book work.
Reinvest your profits.
Eventually, you can upgrade into a professionally built booth with features like:
Ventilation
Windows
More recording space
Better isolation
That's exactly what I did.
I spent nearly a decade working in my closet before moving into the booth I use today.
There was no rush.
The closet earned its keep.
Final Thoughts
Building your first voiceover studio doesn't have to be expensive.
Whether you're using:
A spare closet
Your bedroom closet
Moving blankets
Studio foam
Comforters
Rugs
...the goal is always the same:
Keep outside noise out.
Absorb reflections inside the booth.
Produce clean, consistent audio.
Remember, clients hire you because of your performance—not because of how expensive your recording booth looks.
Start with what you have, continue learning, and upgrade when your business pays for it.
That's a much smarter path than spending thousands of dollars before you've booked your first job.
Ready to Start Your Voiceover Career?
If you're looking for a step-by-step roadmap to getting started in voice acting, I'd love to invite you to my free live Voiceover Blueprint webinar, held every Tuesday at 6:00 PM Pacific.
During the webinar, you'll learn:
How to get started in voice over without wasting money.
The equipment you actually need (and what you don't).
The biggest mistakes new voice actors make.
How to begin finding voiceover work.
Plus, just for attending, you'll receive a free digital copy of my book, The Voiceover Blueprint, the audiobook version, and four additional bonus gifts.
If you're ready to build a profitable voice acting business—starting right from your own closet—I hope to see you there.
Ready to take the next step? I'm hosting a free 1-hour webinar this Tuesday night at 6:00 PM Pacific / 9:00 PM Eastern where I'll go deeper into everything it takes to start a voice acting career from home—including how to land your first gigs with little to no upfront cost. Plus, everyone who shows up gets a free copy of my book, The Voiceover Blueprint (audiobook and ebook). Sign up using this link.
Download My Latest Beginner Mistakes in Voice Over - Quick Start! https://thevoiceoverblueprint.com/beginner-mistakes
Discover the Voice Over Blueprint™: https://thevoiceoverblueprint.com/vobp
The content on this channel is for educational and informational purposes only. While I share tips, strategies, and guidance based on my experience as a professional voice actor, there is no guarantee of earning income or securing voiceover work by using the information provided. Results vary depending on individual effort, skill level, market conditions, and other factors. Viewers should use their own judgment and take personal responsibility for their voiceover career decisions.

Download my latest voice over resource guide...
Get My Latest Voice Over Tips, Tricks, and Insights You Can Use Right Now!
These no cost resource guides show you what working now in voice over.
Terms of Use. |. Disclaimer. |. Privacy Policy. |. Members Area. | Reviews | Refund Policy | Partners